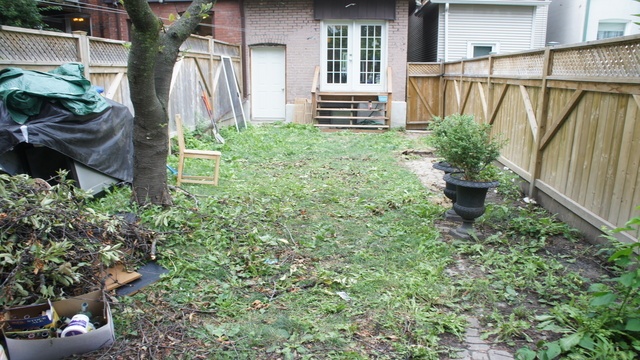
After completing their main floor renovations, a new kitchen and hardwood flooring, these homeowners wanted to do something with the backyard. Of course during renovations and after, the front and back yards become the catch all. Construction debris and material storage will sometimes linger, long after the project is completed. Upon looking outside from the new kitchen the homeowner wasn't over joyed with the sight of the yard.
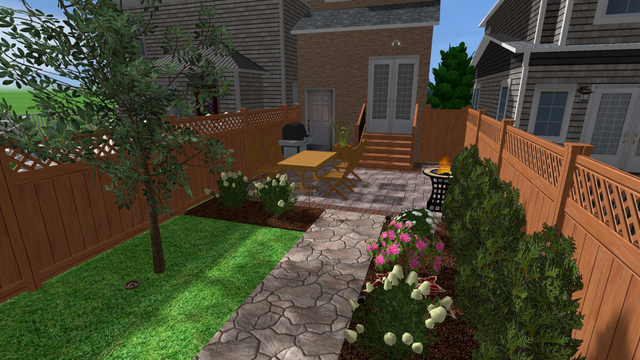
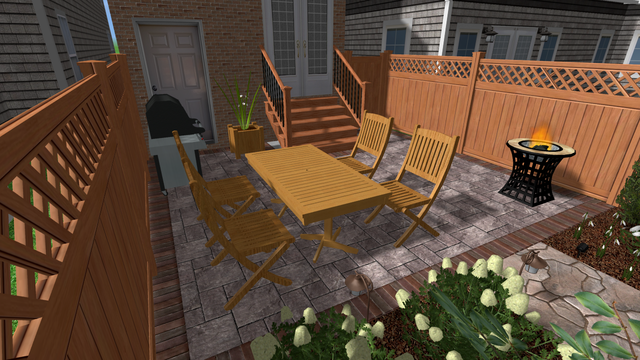
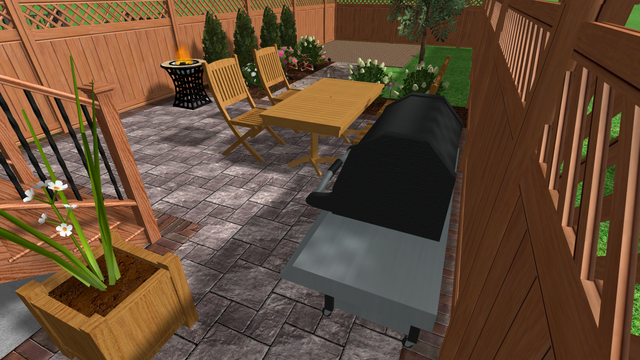
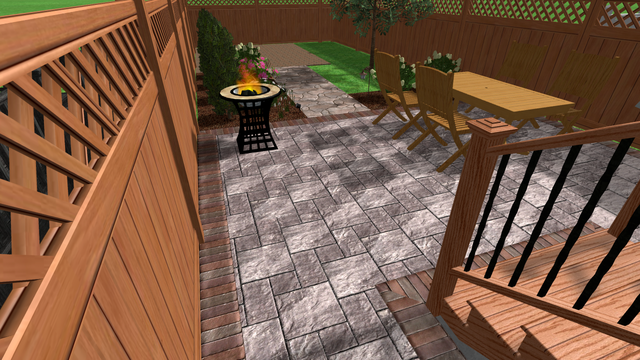
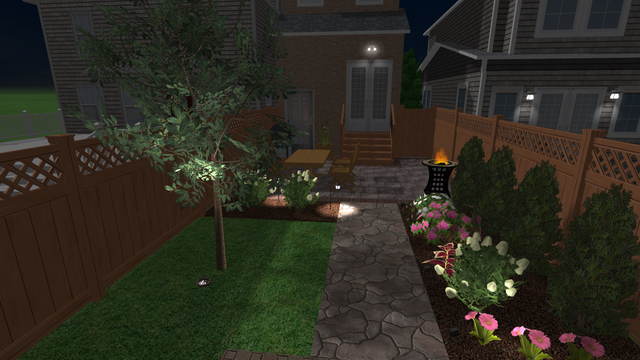
This is where I came in, upon meeting with the homeowner we discussed the various materials and design options. At this stage a design is created. In the past we would provide a top down or plan view drawing, either hand drawn or computer generated. These were fantastic visualization tools, until 3d was introduced that is. We are now in the 3d era, customers want to see their project before hand, in three dimensional glory. A green circle representing a tree or rectangle representing a BBQ isn't enough for most client's in my humble opinion. Customer need to visualize the finished project in three dimensions. What about lighting effects, wind effects or water features? What about the flames from fire pits or a turkish grill. Below is the 3d rendering for this project. Please take a moment to watch this. I think you will agree this rendering really brings things to life.
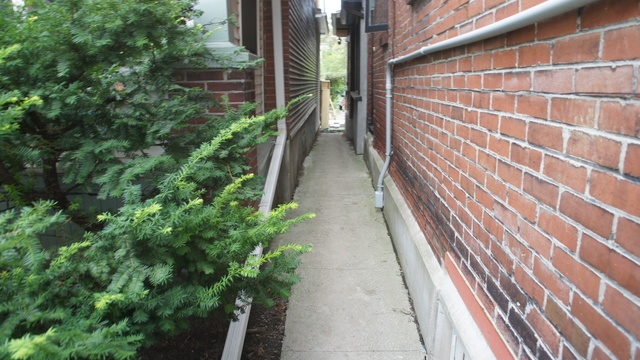
After the rendering is complete final samples are sent off for approved by the client. Once this process is complete it's time for my favorite part, getting to work. Although all these other steps are a lot of work too, it's always nice creating the client's dream and putting a breaking ground. The first step is always demolition and excavation. On this project in urban Toronto, getting materials in and out can sometimes be challenging for some contractors, but that's not the case for this contractor. These types of projects are pretty routine for the type of work we do. As you can see from the pictures below the access for this site is through a small walkway between the two homes. Fortunately, wide enough to get a standard size wheel barrow up and down. There is a lane way in the back and I did make my way in and out one time but after making a 100 point turn around, that was the end of that. Everything went out between the side walkway, which worked out just fine. Deliveries need to be timed well, most of these Toronto downtown streets are one way. The worst case scenario is two deliveries showing up at the same time and a garbage truck trying to make it's way through. Not to mention local traffic, fortunately I'm on good terms with all my vendors so I will call to check when materials will show up on the job. Avoiding traffic issues is a must, we respect your neighborhood.
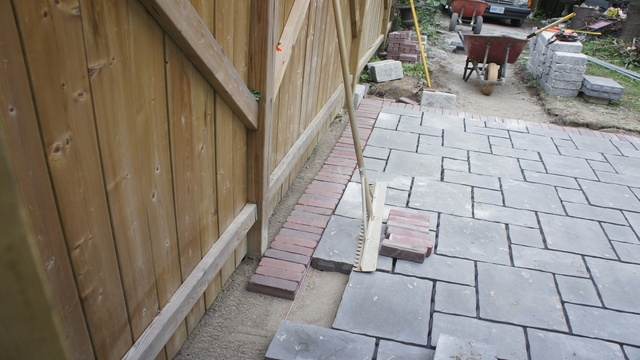
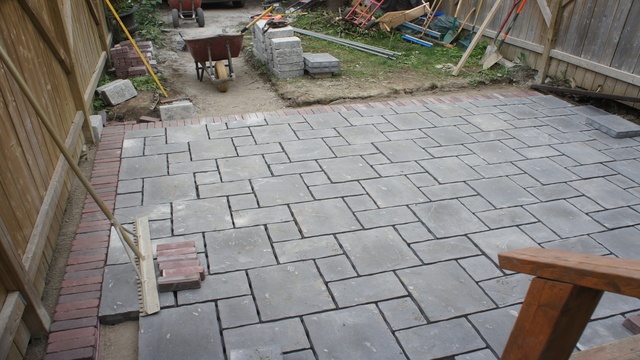
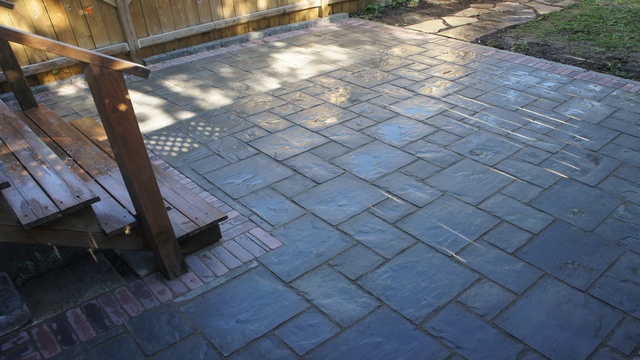
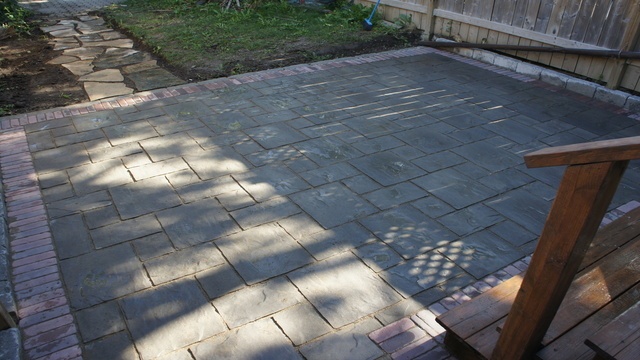
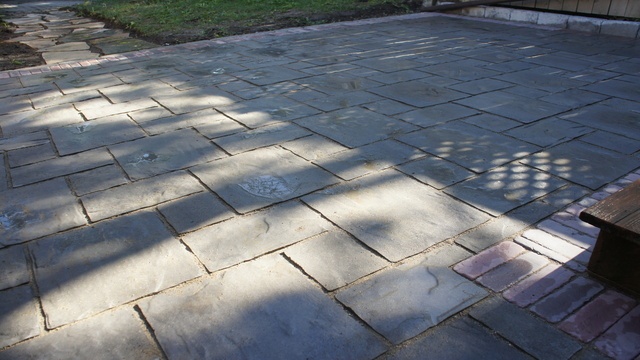
After the base is installed and compacted it's time to put down some paving stones. The main part of the patio is comprised of Thornbury pavers in three sizes. With this paver there is one laying pattern, it looks random but if you look at the stones long enough there is a pattern. Nonetheless it looks very nice. This stone is very budge friendly, it's not on the low end and not on the high end. A great mid line stone with Enduracolor. I suggested that adding a nice border stone would greatly enhance the overall look, without adding a lot of cost. The homeowner thought it was a great idea. Adding a beautiful border treatment is a great design idea that really personalizes the project.
Products used on this project:
Patio: Unilock, Thornbury, Granite Blend.
Border: Unilock, Copthorne 3 colour.
Edging: Unilock, Brussels dimensional, Sandstone
Random flagstone: Owen Sound ledgerock
Polymeric Sand: Unilock, Tan
 3D Design ProposalUnilock Thornbury - Copthorne Border - 3 Colour Mix
 3D Design ProposalUnilock Thornbury - Copthorne Border - 3 Colour Mix
 3D Design ProposalUnilock Thornbury - Copthorne Border - 3 Colour Mix
 3D Design ProposalUnilock Thornbury - Copthorne Border - 3 Colour Mix
 3D Design ProposalUnilock Thornbury - Copthorne Border - 3 Colour Mix
 That's not a very nice looking patioUnilock Thornbury - Copthorne Border - 3 Colour Mix
 Tight Access!Unilock Thornbury - Copthorne Border - 3 Colour Mix
 Pavers being installedUnilock Thornbury - Copthorne Border - 3 Colour Mix
 Pavers being installedUnilock Thornbury - Copthorne Border - 3 Colour Mix
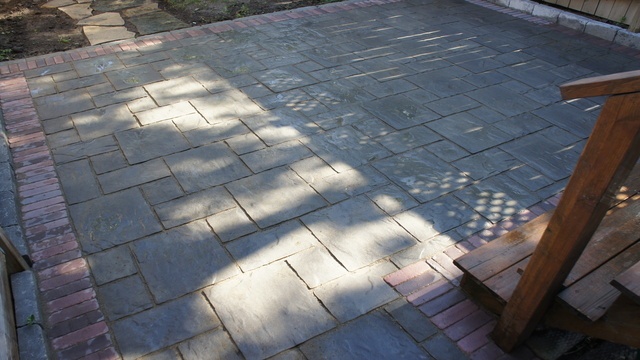
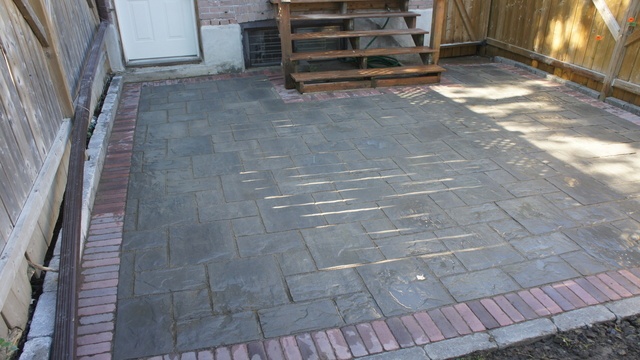
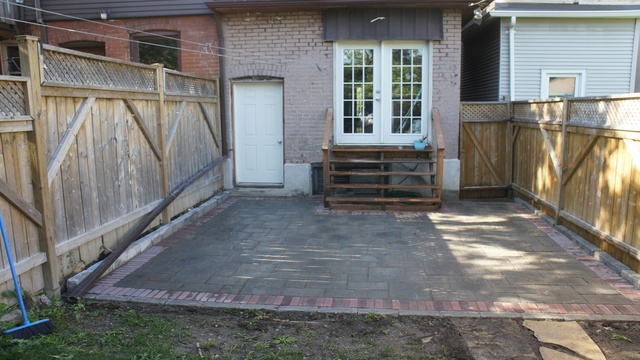
 Patio CompleteUnilock Thornbury - Copthorne Border - 3 Colour Mix
 Patio CompleteUnilock Thornbury - Copthorne Border - 3 Colour Mix
 Patio CompleteUnilock Thornbury - Copthorne Border - 3 Colour Mix
 Patio CompleteUnilock Thornbury - Copthorne Border - 3 Colour Mix
 Patio CompleteUnilock Thornbury - Copthorne Border - 3 Colour Mix
 Patio CompleteUnilock Thornbury - Copthorne Border - 3 Colour Mix
3D Design ProposalUnilock Thornbury - Copthorne Border - 3 Colour Mix
Patio CompleteUnilock Thornbury - Copthorne Border - 3 Colour Mix
3D Design ProposalUnilock Thornbury - Copthorne Border - 3 Colour Mix